Autodesk Fusion is CAD software for creating parametric and non-parametric 3D models, but it is also a very powerful tool for creating drawings for the laser cutting. In this guide, we will show you how to prepare your projects efficiently.
Size and units
Units of Measurement: Make sure the unit of measurement is set to millimeters (mm) in the Document Settings.
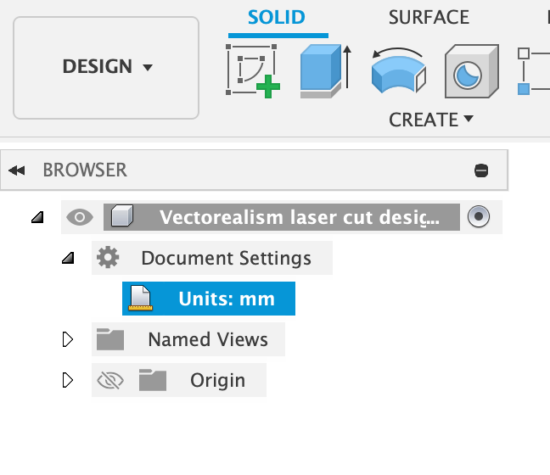
How to set the scale and measure the drawing correctly.
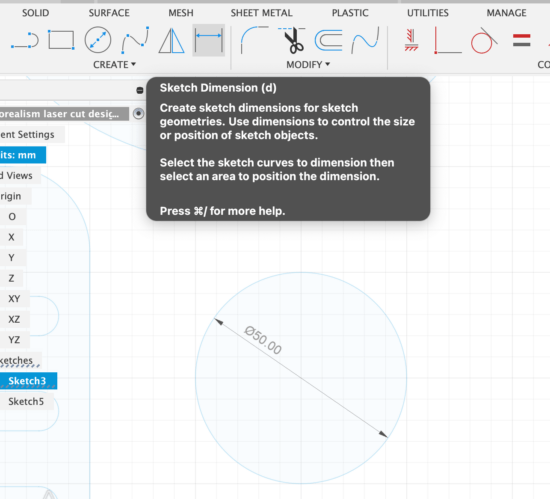
Draw to Scale 1:1: It is essential to draw to full scale. To help you, you can insert dimensions (Sketch Dimension) into your sketch geometries (dimensions will not be exported).
Drawing Creation
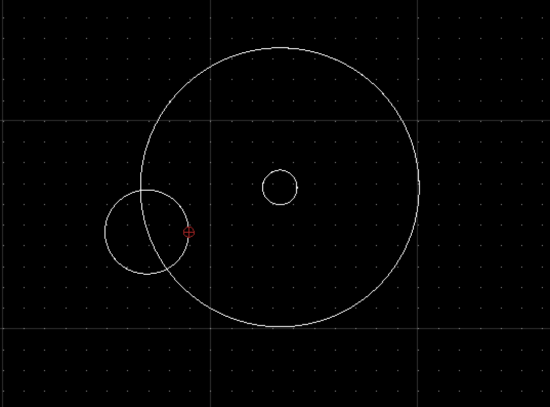
Sketch mode: If you are creating your sketch from scratch, use Sketch mode. Create your two-dimensional sketch, with no need to extrude it. Once completed, click on FINISH SKETCH.
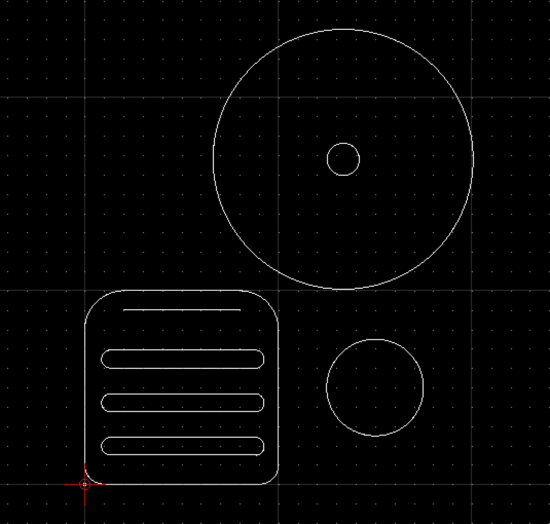
The lines and shapes you display will be the ones in your .dxf file for the laser cutting.
Exporting a 3D model
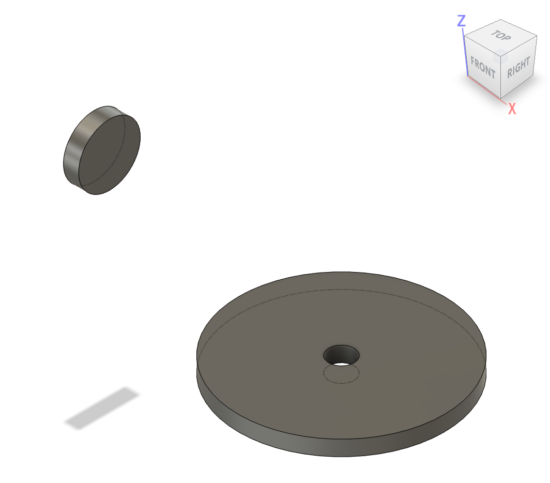
If you have a three-dimensional drawing created in Autodesk Fusion with solid elements (i.e., extruded sketches), exporting it as .DXF will export only the faces that we have extruded. All faces will be projected on the same plane.
Saving and exporting the file
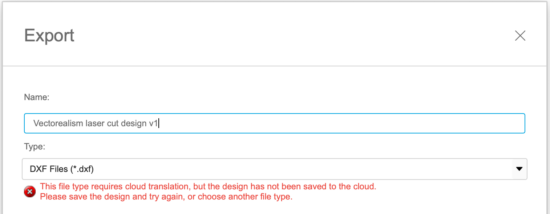
1 - Save the File: Go to FILE → SAVE and save your project to the cloud.
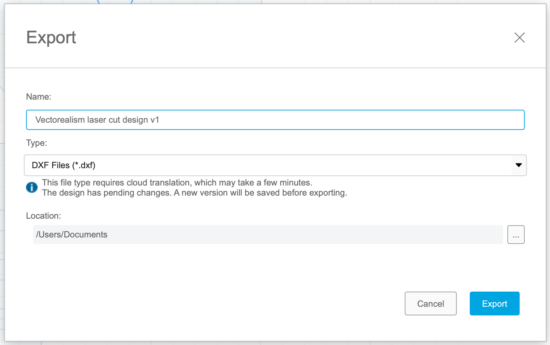
2 - Export to .DXF: After saving the file in 3mf format in the cloud, select FILE → EXPORT and choose the .DXF format. You can also save the .DXF file locally.
File conversion
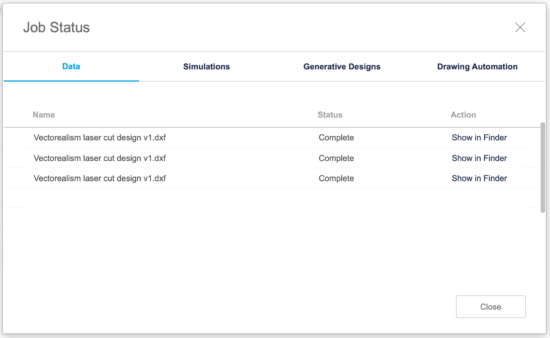
Conversion to .DXF is done by Fusion's servers and requires an Internet connection. The conversion can take a few minutes. In the JOB STATUS window you can monitor progress and, once complete, view the file on your computer.
Setup for laser cutting
The generated .DXF file will have all lines colored black, which we will consider to be cut lines. If you wish to specify special machining such as vector and raster engravings, you can import the .DXF file into Inkscape and use the templates and guides available for this open source vector drawing software.
You can also use any of the other software listed in our guides.

